Add Subtitles to Video Facebook
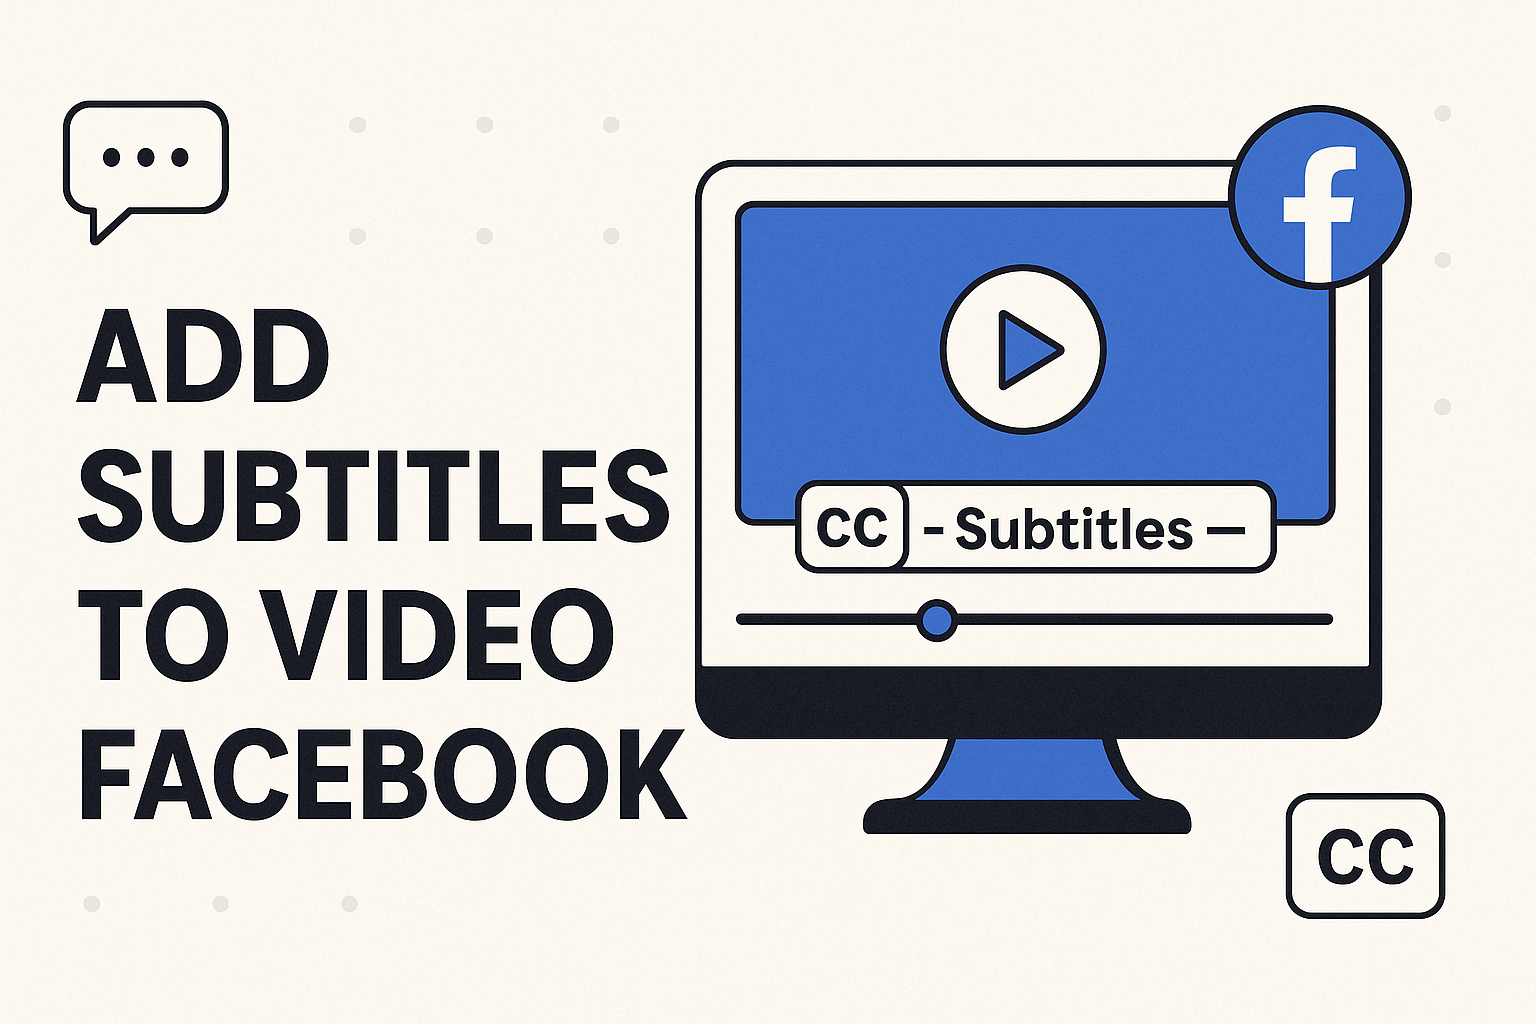
Adding subtitles to Facebook videos is one of the easiest ways to boost your content’s reach and engagement. Subtitles make your videos more accessible, especially for users watching without sound or for those with hearing challenges.
They also help viewers understand your message clearly, increasing watch time and interaction. Whether you’re a brand, a creator, or a marketer, subtitles ensure your content connects with a wider audience. In this blog, I’ll show you how to add subtitles to your Facebook videos quickly and professionally.
Why Subtitles Matter on Facebook
Subtitles matter on Facebook because most videos start playing silently. When people scroll through their feed, videos auto-play without sound, and subtitles help them understand the message instantly.
They also make videos accessible to deaf and hard-of-hearing viewers, ensuring no one misses the content. Videos with subtitles often get more attention, longer watch time, and better click-through rates. Subtitles also let people watch quietly in public.
Plus, when you add subtitles in different languages, your video can reach viewers all over the world. This makes your content more inclusive, engaging, and powerful, just by adding a few lines of text that speak louder than sound.
Supported Subtitle Formats for Facebook
Facebook supports .SRT subtitle files for videos which is the most recommended format. This format is widely used because it’s simple and works well across platforms. When uploading, make sure the file name follows this format: filename.[language_code]_[country_code].srt.
For example, video.en_US.srt for English (US). Facebook reads this structure to automatically recognize the language and show subtitles correctly to the right audience.
Once uploaded, Facebook lets viewers turn captions on or off and displays them in sync with the video. This makes your content easier to understand, accessible to a wider audience, and more engaging, especially in sound-off situations.
Methods to Add Subtitles to Facebook Videos
1. Native Facebook Subtitle Upload
Facebook supports direct upload of subtitle files:
- Steps to Upload .SRT File While Publishing a Video:
- Select “Upload Video” from your Facebook Page.
- Choose your video, then click “Subtitles & Captions (CC)”.
- Upload your
.SRTsubtitle file. - Confirm language and complete video posting.
- Steps to Add Subtitles to Existing Videos:
- Visit Creator Studio and select the video.
- Click “Edit Video” → “Subtitles & Captions (CC)”.
- Upload your
.SRTfile and save changes.
2. Hardcode Subtitles into Video Before Upload
- Explanation of Hardcoding:
Hardcoding permanently embeds subtitles into video frames. Subtitles become part of the visual content itself. - Pros and Cons Compared to Soft Subtitles:
- Pros: Guaranteed visibility across all platforms; no compatibility issues.
- Cons: Viewers cannot toggle subtitles on/off; less flexible post-publish editing.
3. Using RenderCut to Add Subtitles Easily
RenderCut streamlines subtitle creation:
- Auto-generate Subtitles Using AI:
Upload your video; RenderCut instantly generates accurate subtitles. - Edit, Style, and Position Captions:
Easily customize fonts, colors, sizes, and positioning for better readability and visual appeal. - Burn Subtitles into Video or Export as SRT:
Choose either permanent embedding (hardcoding) or export.SRTfor flexibility. - Upload Directly to Facebook or Other Platforms:
Quickly export and share your subtitled videos seamlessly across Facebook and beyond.
How RenderCut Simplifies Subtitle Creation
RenderCut simplifies subtitle creation using smart AI tools that do most of the work for you. It automatically transcribes your video and can even translate it into multiple languages.
You don’t need any editing experience; just use the drag-and-drop interface to style your subtitles with ease. You can change fonts, colors, positions, and even add emojis or effects. It supports formats like SRT for subtitle files or MP4 if you want subtitles burned directly into the video.
Once you’re happy, just hit export and get a Facebook-ready video in one click. It’s quick, easy, and perfect for creators who want to boost video reach with captions.
Frequently Asked Questions (FAQs)
Can I upload multiple subtitle files for different languages?
Yes, you can upload multiple subtitle files for different languages, and most video players will let users choose their preferred one. Platforms like YouTube and Vimeo support multilingual subtitles to improve global accessibility.
Do subtitles affect Facebook algorithm performance?
Yes, subtitles can improve Facebook algorithm performance by boosting watch time, engagement, and reach. Facebook’s data shows videos with captions increase view time by 12% and help users understand content even without sound.
How do I edit subtitles after uploading a video?
After uploading your video, you can edit subtitles by opening the subtitle panel in your video editor or platform. Most tools like YouTube or RenderCut let you change text, timing, and style instantly.
What’s the difference between burned-in and uploaded subtitles?
Burned-in subtitles are permanently visible on the video and can’t be turned off, while uploaded subtitles (like .SRT files) can be toggled on or off by viewers, giving them more control over how they watch.
Conclusion
Adding subtitles to Facebook videos isn’t just a nice-to-have; it’s essential for boosting reach, engagement, and viewer retention. From making your content accessible to silent scrollers to increasing watch time, the benefits are clear.
With RenderCut, you don’t need complex tools or editing skills to upload, auto-generate, and publish high-retention videos in minutes. Whether you’re a creator or brand, it’s time to make every second count. Try RenderCut today and transform your Facebook videos into scroll-stopping content.