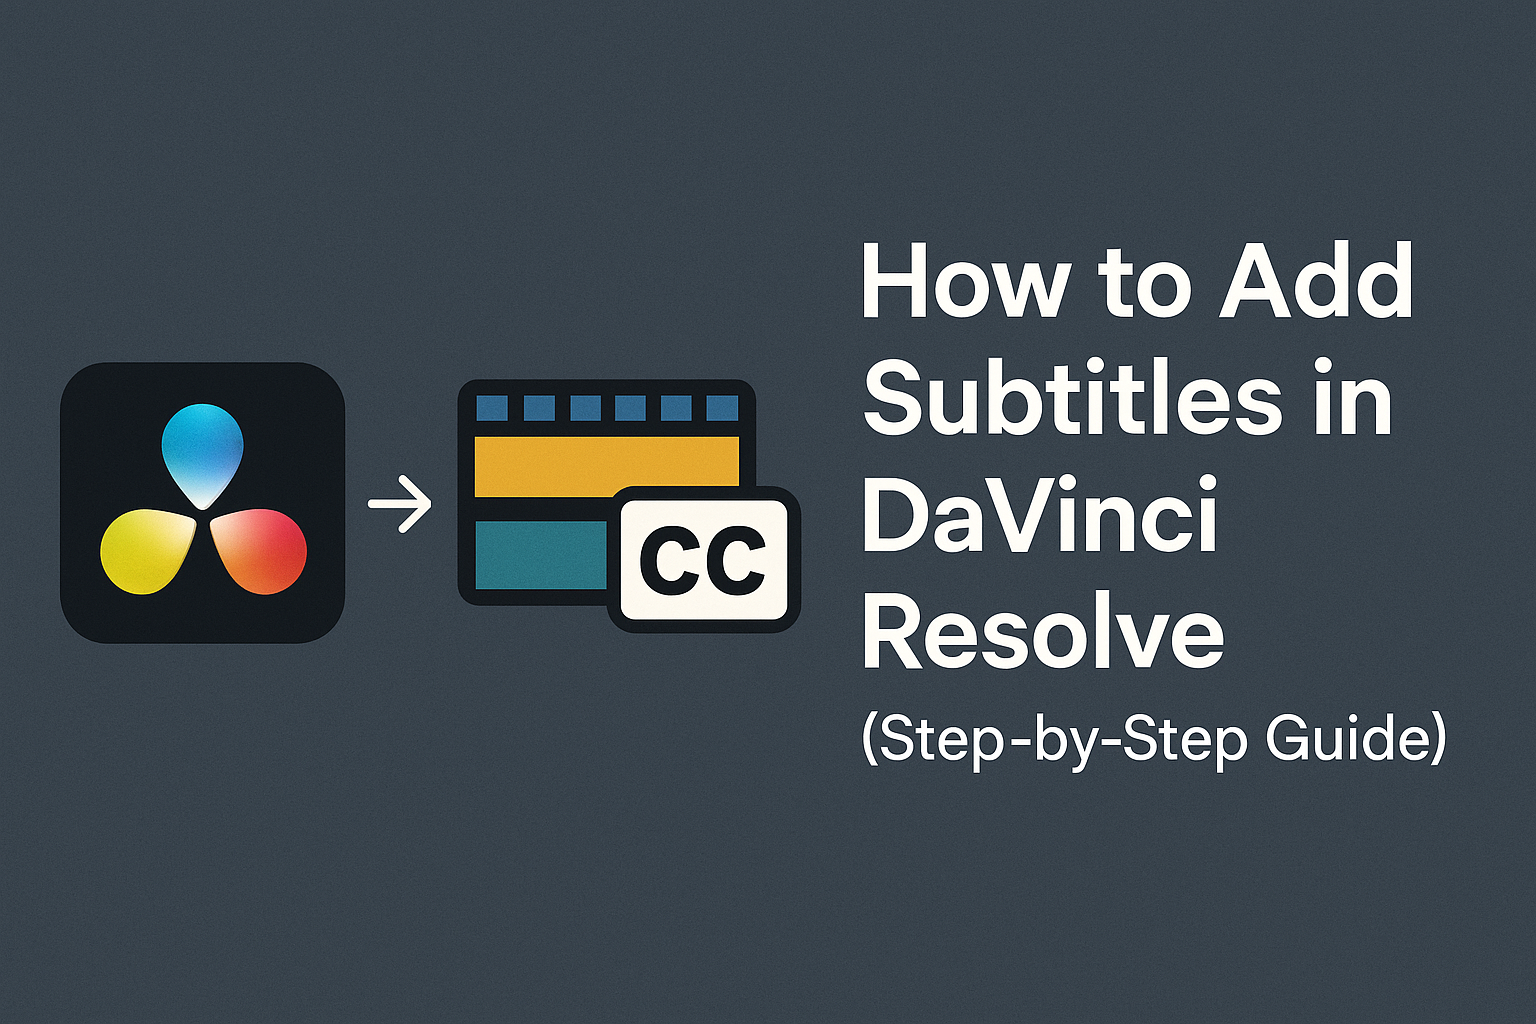
How to Add Subtitles in DaVinci Resolve (Step-by-Step Guide)
Subtitles make your videos more engaging, accessible, and viewer-friendly, especially in today’s sound-off, scroll-fast world. Whether editing films, tutorials, or YouTube content, adding subtitles in DaVinci Resolve gives you full creative control.
But if you want to skip the manual work and still get stunning results, RenderCut.io offers a smarter, faster way to generate animated captions automatically.
In this guide, I’ll walk you through the step-by-step process of adding subtitles in DaVinci Resolve and show you how it compares to the instant magic of RenderCut.
What Are Subtitles and Why Use Them?
Subtitles are the text displayed on a video that shows what is being said, usually in the same or a different language. They help viewers understand the dialogue. Captions, on the other hand, include both speech and other audio elements like music or sound effects, making videos fully accessible to deaf or hard-of-hearing users.
Using subtitles improves accessibility, boosts engagement, and even supports SEO by making your content searchable. Viewers stay longer and interact more with subtitled videos.
You can use hardcoded subtitles (burned into the video) when you want the text always visible. Soft subtitles (toggle on/off) are best when flexibility is needed, like multiple languages. Subtitles make content clearer, more inclusive, and easier to enjoy.
Getting Started with DaVinci Resolve
First, download DaVinci Resolve from the official Blackmagic Design website and install it on your computer. Once launched, you’ll see a clean interface that opens up powerful editing features.
When it comes to subtitles, DaVinci Resolve supports popular formats like .SRT, .TTML, and .DFXP, making it easy to import your captions. Inside the Edit page, you can drag and drop subtitles directly into your timeline, position them, and adjust their style.
The Deliver page lets you export your video with subtitles burned in or as separate files. You’ll enjoy how smooth the process feels once you dive in—it’s built to help you tell your story clearly.
Step-by-Step: How to Add Subtitles in DaVinci Resolve
1. Import Your Video
- Create a Project: Open DaVinci Resolve, select “New Project,” and name your project.
- Import Media: Click the “Media” tab, then drag and drop your video file into the media pool, or use “File > Import Media.”
2. Add a Subtitle Track
- Navigate to the “Edit” page at the bottom.
- Right-click on the timeline area and choose “Add Subtitle Track.”
3. Insert and Edit Subtitles
- Manually Insert Subtitles: Click on the subtitle track, then click “Add Subtitle.” Type your subtitle text directly.
- Adjust Timing: Drag the subtitle boxes on the timeline to adjust timing and length.
- Formatting Options: Select subtitles, open the Inspector panel, and customize font, size, color, position, and style.
4. Importing External Subtitle Files
- Import SRT Files: Right-click on the subtitle track and select “Import Subtitle.” Choose your .SRT file from your device.
- Sync External Subtitles: Adjust subtitle positioning and timing by dragging subtitle clips within the timeline if needed.
5. Exporting with Subtitles
- Hardcode vs. Separate Export: Go to the “Deliver” page.
- Hardcode Subtitles: Choose your export format (MP4, MOV), then under “Subtitle Settings,” select “Burn into Video.”
- Separate SRT Export: Select “Export Subtitle” and choose your desired format (e.g., SRT).
- Click “Add to Render Queue,” then select “Render All” to export.
When to Use RenderCut Instead of Manual Subtitling
Use RenderCut when you need fast, styled captions without the manual work.
RenderCut’s auto-captioning feature quickly turns your video into a high-retention clip. Just upload your video, and within seconds, you’ll see bold, animated subtitles perfectly timed with your voice.
This tool is made for speed. It works best when you’re on a deadline, creating content at scale, or want to focus on editing and storytelling instead of typing out every word.
When accuracy, speed, and visual style matter most, like in social media videos, Reels, or product demos, RenderCut gives you instant results that feel polished and professional. It saves time while making your videos more engaging and viewer-friendly.
FAQs
Can I Burn Subtitles Directly Into Video in DaVinci Resolve?
Yes, you can burn subtitles directly into your video in DaVinci Resolve. Just choose “Export Subtitle” as “Burn into Video” while rendering. This makes the text permanent, so viewers always see it, great for social media or offline sharing.
Does DaVinci Resolve Support Multiple Languages for Subtitles?
Yes, DaVinci Resolve supports multiple languages for subtitles. You can import or create subtitle tracks in different languages like English, Spanish, Hindi, and more, making your videos accessible to global viewers with ease.
How Is RenderCut Different From Resolve Subtitle Tools?
RenderCut is different from Resolve because it adds animated captions, auto B-rolls, emojis, and memes in seconds, making videos more fun and shareable. It’s built for speed, with no timeline editing or complex setup needed.
Is There a Free Way To Add Subtitles in DaVinci Resolve?
Yes, DaVinci Resolve lets you add subtitles for free using its built-in tools. You can manually create subtitle tracks, type the text, and adjust timing directly on the timeline without any extra plugins or payments.
What File Types Can I Export My Subtitles In?
You can export your subtitles in popular formats like SRT, VTT, ASS, and TXT. These files work smoothly with video editors, social platforms, and streaming tools. Most creators prefer SRT because it’s widely supported everywhere.
Conclusion
Adding subtitles in DaVinci Resolve gives you full creative control, but the manual process can be time-consuming and repetitive.
You’ve now learned how to create, edit, and style subtitles step-by-step, but if you want to save time and still get stunning, animated captions, RenderCut.io is built for speed and quality.
Let your creativity flow without getting stuck in timelines. Try RenderCut today to turn your videos into scroll-stopping content in seconds.