
How to Add Subtitles to MP4 Videos (4 Methods for 2026)
 RenderCutCreator Tips
MP4 is the most widely used video format in the world. It plays on every device, uploads to every platform, and is the default export format from almost every editing tool. When creators ask how to add subtitles to a video, the answer almost always involves an MP4 file.
There are four distinct ways to add subtitles to an MP4 in 2026, and they produce very different results. Some add subtitles only for viewing on your own screen. Some attach a subtitle track to the file that can be toggled on or off. Others burn subtitles permanently into the video so they display everywhere. Knowing which method you need saves time and prevents the frustration of adding subtitles that disappear when you upload the file to Instagram, TikTok, or YouTube.
This guide covers all four methods with step-by-step instructions, the formats involved, and when each approach is the right choice.
What this guide covers:
- The four methods for adding subtitles to MP4 (and what each one produces)
- AI auto-generation: the fastest method for social media
- SRT file upload: the right approach for YouTube and web video
- Burn-in: the permanent, platform-proof method
- VLC: viewing subtitles without modifying the file
- File format guide: SRT, VTT, ASS, and when each is used
- Best tools for adding subtitles to MP4 in 2026
1. The Four Methods and What Each Produces
Before getting into steps, here is a clear picture of what each method actually does to your MP4 file.
| Method | What It Does to the MP4 | Subtitles Travel With the File | Viewer Can Toggle Off |
|---|---|---|---|
| AI auto-generation (burn-in) | Renders subtitle text permanently into the video pixels | Yes | No |
| SRT/VTT file upload | Attaches a separate subtitle track alongside the video | Only if you include the SRT file | Yes |
| Manual burn-in with editor | Renders subtitle text permanently into the video pixels | Yes | No |
| VLC player overlay | Displays subtitles only on your screen during playback | No (file unchanged) | Yes |
For social media (Instagram Reels, TikTok, YouTube Shorts, Facebook Reels), the burn-in method is the correct choice. Platform players do not read attached SRT tracks when you upload an MP4 unless the platform has its own subtitle feature. Burned-in subtitles display correctly everywhere.
For YouTube long-form, web video, and accessibility compliance, uploading a separate SRT file gives viewers the option to toggle captions on or off and lets the platform index the caption text for search.
2. Method 1: AI Auto-Generation with Burn-In (Recommended for Social Media)
This is the fastest method for creating professional subtitles and exporting an MP4 that plays correctly on every platform.
- Upload your MP4 to an AI captioning tool. Browser-based tools require no installation.
- Click Generate to start AI transcription. The tool converts your spoken audio to text with timestamps in seconds.
- Review the transcript. Correct any errors, especially names, brand terms, or technical vocabulary.
- Style your subtitles. Set font, size, color, and apply your saved style template. Change default full-sentence blocks into 3 to 5 word chunks for readability.
- Highlight keywords. Select the key word in each chunk and apply a contrasting color or bold weight.
- Adjust timing. Watch the preview and fine-tune any captions that appear before or after the spoken word.
- Export. The tool renders a new MP4 with subtitles permanently burned into the video.
Output: A new MP4 file with subtitles visible to every viewer on every platform and device, no subtitle file needed separately.
Time: 4 to 7 minutes for a short video with a saved style template. For batch processing at volume, the full system is in How to Caption 30 Videos a Week Without Burning Out.
3. Method 2: Uploading an SRT File to a Video Editor or Platform
If you have an existing transcript or a subtitle file from another source, you can add it to your MP4 without re-generating captions from scratch.
Using an Online Video Editor
- Open your video editor (VEED, Clideo, Movavi Online, or similar browser-based tool)
- Upload your MP4 file
- Find the Subtitles or Captions section
- Select Upload SRT and choose your .srt file
- Review the caption timing against the video preview
- Adjust any lines that are out of sync
- Export as MP4 with subtitles burned in, or download the revised SRT file
Uploading SRT to YouTube
- Go to YouTube Studio > Content
- Click on your video
- Go to the Subtitles tab
- Click Add Language, select your language
- Click Add next to Subtitles, then choose Upload file
- Select your SRT or VTT file
- Review and publish the subtitle track
YouTube indexes the uploaded SRT text for search, which is the main reason to use this method for YouTube long-form content rather than relying only on burn-in. For the full breakdown of how captions improve video SEO, see Do Captions Improve Video SEO?
4. Method 3: Burning Subtitles In with Desktop Video Editors
For creators already working in a desktop editing application, adding subtitles within the timeline and exporting a burned-in MP4 keeps everything in one workflow.
In CapCut (Windows/Mac)
- Open your project and import your MP4 to the timeline
- Click Text > Auto Captions and select your language
- Click Generate to auto-transcribe
- Review each caption block and correct errors
- Apply a style template or adjust font, color, and size manually
- Export as MP4 with captions rendered into the video
In DaVinci Resolve
- Import your MP4 to the media pool and place it on the timeline
- Go to File > Import > Subtitles and select your SRT file, or use Timeline > Add Subtitle Track to create manually
- Adjust caption timing and styling in the Inspector panel
- Render to MP4 with Deliver > Export Video
In Adobe Premiere Pro
- Import your MP4 to the project and place it on the sequence
- Go to Captions > Transcribe Sequence to auto-generate, or File > Import your SRT file
- Edit caption text and timing in the Caption panel
- Apply styling through Essential Graphics
- Export using File > Export > Media, ensuring Export Captions is set to burn into video
5. Method 4: Viewing Subtitles in VLC (No File Modification)
If you just need to watch an MP4 with subtitles on your own computer without modifying the file, VLC Media Player handles this without any editing.
- Open VLC and play your MP4
- Go to Subtitle > Add Subtitle File in the top menu
- Select your .SRT or .VTT file
- Subtitles appear in sync with the video during playback
Important: This method does not modify the MP4 file. Subtitles are only visible in VLC during your playback session. If you send the video to someone else or upload it, the subtitles do not travel with it. Use this method only for personal viewing or reviewing a subtitle file.
6. Subtitle File Formats: What Each One Is For
When working with MP4 files, you will encounter several subtitle file formats. Here is what each one does.
| Format | Full Name | Best For |
|---|---|---|
| .srt | SubRip Subtitle | Most compatible format. Works with YouTube, Vimeo, most editors. Plain text with timestamps. |
| .vtt | WebVTT | Web video players and YouTube. Similar to SRT with additional styling options. |
| .ass / .ssa | Advanced SubStation Alpha | Complex styling (colors, positioning, animations). Used in professional workflows and anime. |
| .sbv | SubViewer | Google/YouTube's own format. Similar to SRT. |
| .txt | Plain text transcript | No timestamps. Used for SEO indexing and accessibility documentation, not for playback. |
For social media and most creator workflows, SRT is the only format you need to know. It is universally supported by every editing tool, every platform, and every subtitle workflow you will encounter.
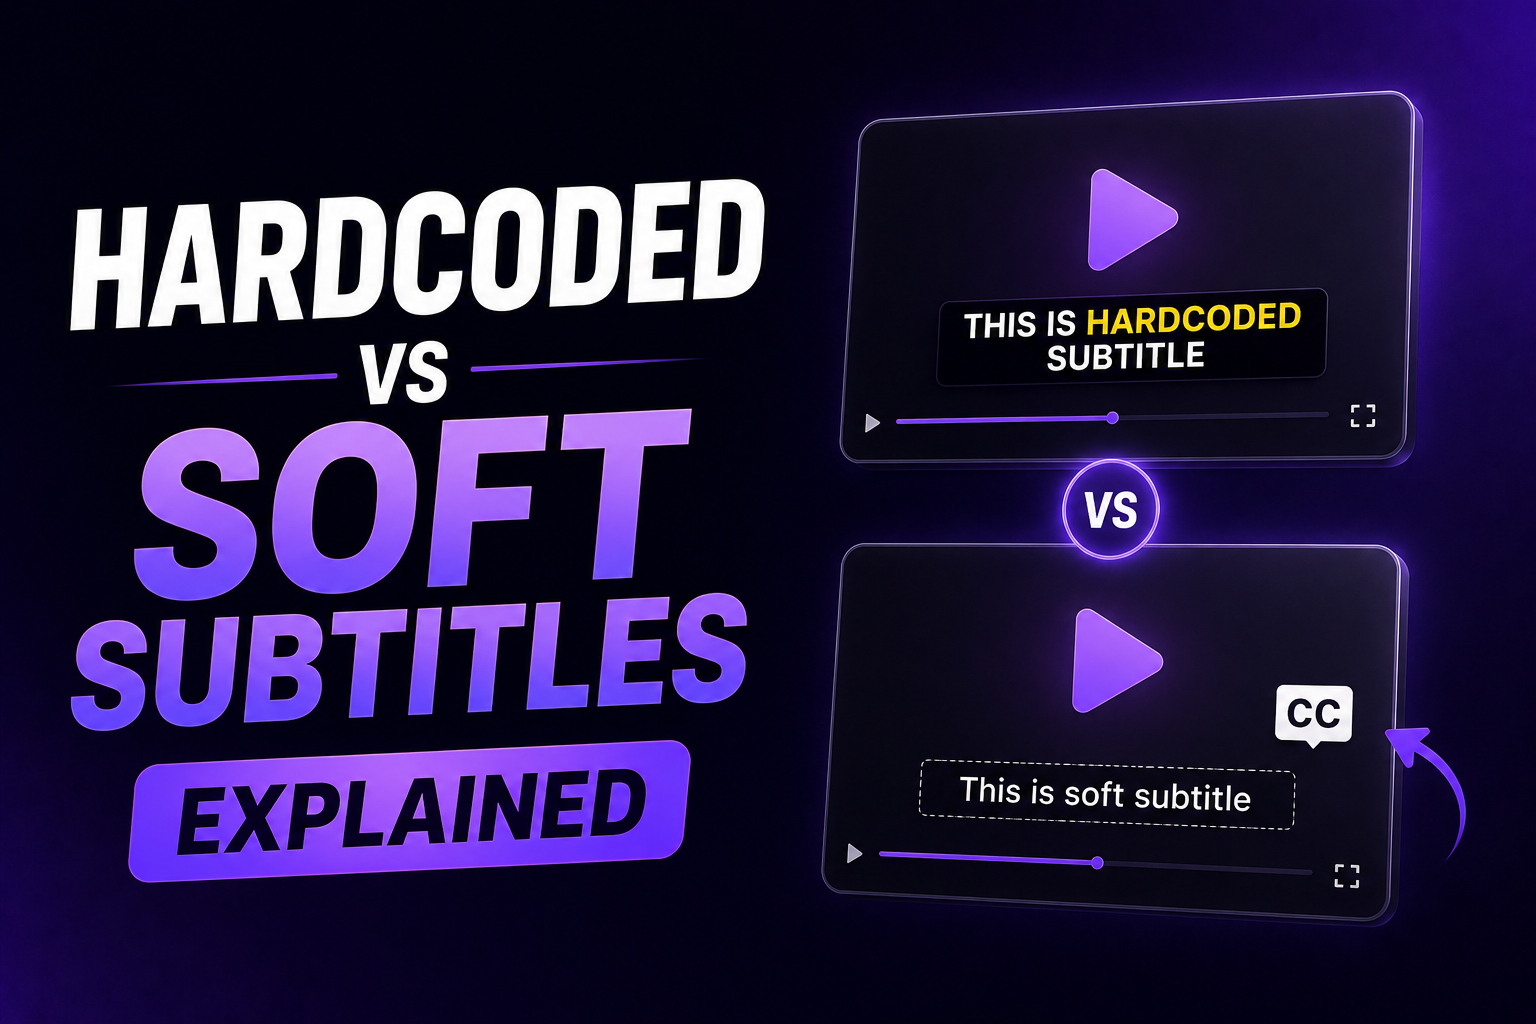
7. Hardcoded vs Soft Subtitles for MP4: Which to Use
This is the most commonly misunderstood aspect of subtitle formats, and it determines whether your subtitles work correctly after you upload the file.
| Type | Description | When to Use |
|---|---|---|
| Hardcoded (burned-in) | Subtitle text is permanently rendered into the video pixels. Cannot be turned off. | Instagram, TikTok, YouTube Shorts, Facebook Reels, ads, any social media upload |
| Soft (SRT/VTT file) | Subtitle text is in a separate file. Viewer can toggle on/off. | YouTube long-form, Vimeo, web video players, accessibility compliance |
The rule is straightforward: for social media, always burn in. Platform players (Instagram, TikTok, Facebook) do not read attached subtitle files from uploaded MP4s. They have their own caption systems that operate separately. If your subtitles are in an SRT file and not burned in, they will not appear when you post to these platforms.
For YouTube long-form specifically, use both. Burn in styled captions for the viewing experience, and also upload an SRT file through YouTube Studio so the caption text gets indexed for search.
8. Best Tools for Adding Subtitles to MP4 in 2026
| Tool | AI Auto-Generate | Burn-In Export | SRT Export | Free Option | Best For |
|---|---|---|---|---|---|
| RenderCut | Yes | Yes | Yes | Yes (5 videos, no watermark) | Social media with styled captions |
| VEED | Yes | Yes | Yes | Yes (watermark) | Browser-based all-in-one editing |
| CapCut | Yes | Yes | Limited | Yes | Mobile editing with auto-captions |
| Clideo | Yes | Yes | Yes | Yes (watermark) | Quick online subtitle addition |
| HappyScribe | Yes | Yes | Yes | Limited trial | Transcription-first workflow |
| VLC | No | No | N/A | Yes | Viewing only, no file modification |
For the full comparison of caption tools with word-level styling, see Best AI Caption Tools for Reels in 2026.
Frequently Asked Questions
How do I permanently add subtitles to an MP4?
Use an AI captioning tool or video editor to generate captions, apply your styling, and export a new MP4 with captions burned into the video. Burned-in subtitles are permanently rendered into the video pixels and display on every device and platform without requiring a separate subtitle file.
Can I add subtitles to MP4 for free?
Yes. Tools including RenderCut (5 videos per month, no watermark), Clideo, and VEED offer free plans that add subtitles to MP4. CapCut is free for basic auto-captioning. For viewing only, VLC is completely free and requires no account.
What is the difference between SRT and burned-in subtitles?
SRT files are separate text files with timestamps that can be toggled on or off by viewers. Burned-in subtitles are permanently rendered into the video pixels. For social media uploads (Instagram, TikTok, Facebook), burned-in is required because these platforms do not read SRT files attached to uploaded MP4s. For YouTube and web video, SRT files allow search indexing and viewer control.
Why do my subtitles disappear when I upload to Instagram or TikTok?
Subtitles disappear on upload because they were in a separate SRT file, not burned into the video. Instagram and TikTok do not read subtitle files attached to uploaded MP4s. To fix this, use the burn-in method to render subtitles permanently into the video before uploading.
Can I add subtitles to MP4 on a phone?
Yes. CapCut (iOS and Android) offers AI auto-captioning with burn-in export. The Facebook Reels editor, Instagram Reels editor, and TikTok editor all include in-app captioning for videos recorded or uploaded within the app. For the most styling control on mobile, use a browser-based tool like VEED or RenderCut from your phone's browser.
Final Word
MP4 is just a container format. Subtitles can be added to it in four different ways, and which method you use determines whether they display correctly after you upload or share the file.
For social media, burn subtitles in before uploading. For YouTube long-form, upload an SRT file alongside the video. For personal viewing, VLC handles subtitle overlay without touching the file. And for any workflow where you start from raw footage, an AI captioning tool handles transcription, styling, and burn-in in a single step.
The method that produces the best results, AI transcription with styled burn-in captions, takes under 5 minutes per video and produces an MP4 that works correctly everywhere you upload it.
RenderCut generates AI subtitles for your MP4, lets you style them with word-level highlights and saved templates, and exports a burned-in MP4 plus an SRT file from the same workflow. Try RenderCut free and add professional subtitles to your next MP4.
References
- CheckSub - Hard vs soft subtitles for MP4: what each method does to the file and when to use each
- Clideo - Add subtitles to MP4 online: SRT upload, auto-generation, and burn-in export guide
- Icecream Apps - How to add subtitles to MP4 video: three methods for Windows users in 2026
- HappyScribe - Add subtitles to MP4 automatically: AI transcription and hardcode export workflow